Después de probar con diferentes configuraciones de hot-ends, incluyendo el que he fabricado yo mismo usando una barra roscada de bronce y alambre de Ni-Chrome, creo que estoy en condiciones de compartir con ustedes lo que (espero) sea mi configuración definitiva.
After doing several trials with different hot-end configurations, including the one that I've made myself usign a bronze bolted bar and Ni-Chrome wire, I think I'm in position of sharing my (hopefully) definitive configuration.

El hot-end que se puede ver en la imagen de arriba me dió satisfacciones por el hecho de haberlo hecho yo mismo, pero también me dió muchos dolores de cabeza porque al enrollar el Ni-Chrome directamente sobre la cinta Kapton esta última se quemaba muy fácilmente y cada tanto había que desarmar todo y volverlo a armar. Tampoco era un buen montaje para el termistor, ya que el mismo quedaba apoyado directamente sobre la kapton, y el montaje no era muy firme, lo que generaba oscilaciones de la medición. Finalmente, el diámetro de extrusión tampoco era ideal, ya que al haberlo hecho con una broca de 0.5 manualmente, el agujero seguramente tendría un diámetro algunas centésimas mayor, por lo que el filamento extruído era algo mas grueso.
The original bronze-Ni-Chrome hotend (see picture above) was giving me too many problems, although the printing quality was considerably good for being self-made with just a hand drill (no special tools). The assembly was not so stable, the Kapton tape was burning due to the direct contact with the Ni-Chrome and it was not lasting too long, the thermistor connection was also unstable and I was having an annoying temperature fluctuation, and last but not least, the diameter of the extruder filament was a little big (perhaps doing the hole manually with normal tools was giving a higher diameter than the expected).
Así que me decidí a comprar algunos componentes pre-fabricados para mejorar el hot-end, que como todos sabemos es la parte más sensible de las impresoras 3D. Compré una resistencia de cartucho, termistores encapsulados (que aguantan +300ºC teóricamente), el bloque de aluminio donde se monta todo y el cuerpo roscado para filamento de 1.75mm que es lo que tengo en casa. También compré el cabezal extrusor roscado, por si luego quiero experimentar con diámetros mas pequeños.
So I bought some components to start improving my work. I bought the heating cartridge, some more thermistors (the transparent ones, up to +300º), the aluminum heater block and the main body for 1.75mm filament, with an exchangeable head with 0.5mm hole (exchangeable so that in the future I can try smaller holes).
Sin embargo, no quería comprar absolutamente todo, incluyendo los aisladores de PEEK o PTFE, principalmente porque si lo compramos todo hecho, dónde está la gracia no???... Tampoco estaba seguro de que comprando un aislador pre-fabricado me fuese a encajar bien en mi extruder.
However, I didn't want to buy the whole stuff, including the PEEK or the PTFE isolators, mostly because if I bought everything then where is the fun?? I was not sure that with the typical cilindrical isolator I was going to be able to attach the hot-end to the extruder.
Así que la razón de este post es enseñarles cómo resolví el montaje y al mismo tiempo el problema de disipación de calor.
So the reason of this topic is to show you how I solved the mounting issue and at the same time, the most important thermal dissipation issue.
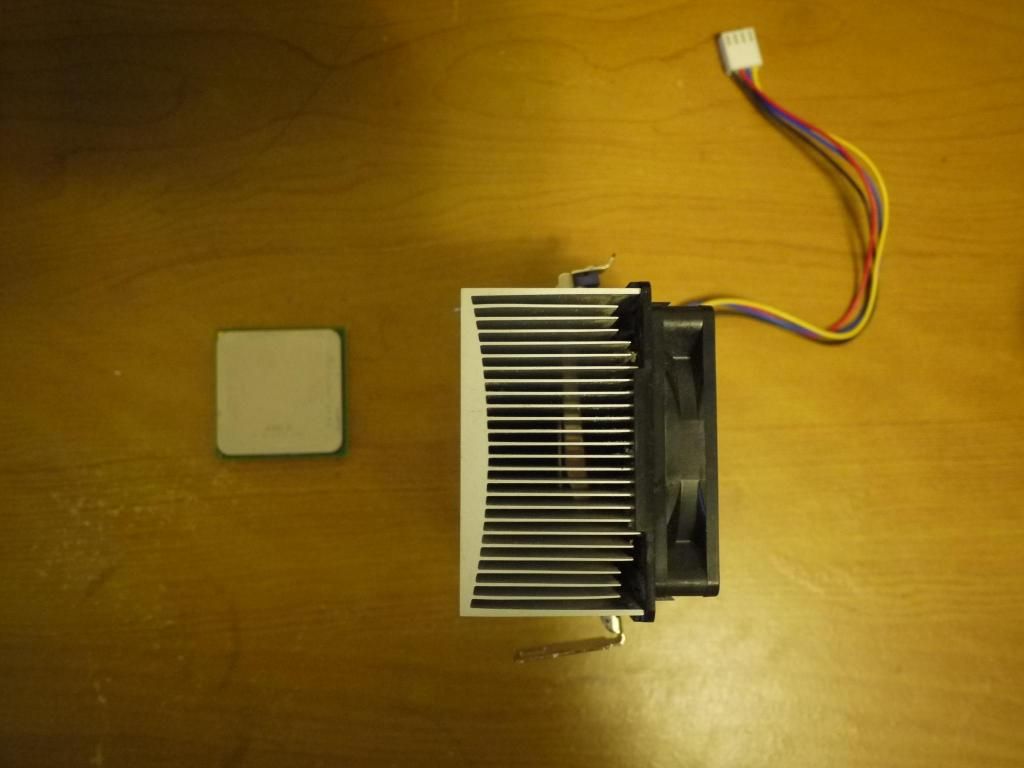
Buscando entre la colección de cachibaches que tengo en búsqueda de algo que sirviera como aislador térmico, me encontré con un disipador de AMD Athlon 64 que tenía de un viejo ordenador, y me pareció que se podía hacer alguna cosilla interesante con él.
Searching into my collection of goods looking for a piece of "something" to use as isolator-support I found an AMD Athlon 64 heat dissipator that appeared to be interesting to be used. And it did!

But using the whole piece of dissipator was too much, too heavy, too tall. So I cut it in two pieces by using a small metal sew, some drills to help me removing material and of course, a lot of patience. After more than 1 hour of drilling and sewing I finally made to cut it.
Luego le hice 3 agujeros a lo largo de la base, dos exteriores para los tornillos de fijación y el central para el cuerpo roscado del hot-end. Aunque no tengo una foto del disipador luego del trabajo, creo que en la siguientes fotos se puede entender la idea.
I drilled 3 holes along the base plate to give place to the hot-end pipe and the two screws to fix the assembly to the extruder. Even though I have no detailed picture of the dissipator disassembled, in the following picture the idea can be appreciated.


Prometo que ni bien tenga tiempo voy a hacer un diagrama detallado para que quede mas claro aún.
As soon as I can get some time I'll update the post with a detailed drawing to simplify the understanding.
Hasta ahora esta es la configuración mas estable que he podido testear. La conexión entre el extruder y el hot-end se hace a través de un tubito de teflón y para mejorar aún mas la disipasión térmica le he metido un ventilador de 60x60 que espero poder montar en un difusor ni bien lo pueda imprimir.
So far this is the most stable configuration that I was able to test. The connection between the extruder and the hot-end is done by a small teflon tube (not a bar, just a teflon hose) and to guarantee a proper temperature dissipation I added a fan (which I hope to mount in a diffusor as soon as I can print it).
Lo único que me queda por mejorar son algunos atascamientos de plástico que me suceden con algunos modelos particulares. Por ejemplo ahora mismo estoy imprimiendo el busto de Yoda y ningún problema, va como la seda, pero cuando he querido imprimir el difusor que les enseño mas abajo, se atasca. Y cada vez que intento, pasa lo mismo. No tengo claro porqué pero creo que se trata de que no estoy imprimiendo a la velocidad adecuada para la cantidad de plastico que estoy inyectando (o sea, el cabezal va muy lento y no deja salir todo el plástico que se está inyectando). A ver si logro dar con una velocidad adecuada, también probaré con una altura de capa un poco mas alta (he probado con 0.35 y 0.4 y nada)...
Now I need to improve the jammings that are happening with specific models. For example, I'm printing right now the Yoda's bust and no problem, but when trying to print the difussor from the pictures below, I get jams after the 1st or 2nd line... As this happens with some models and not with others, I'm thinking that perhaps is the amount of plastic that is being inyected (or how fast is the hot-end moving to allow this plastic to flow out)... It's annoying really because only happens with certains models. I hope to get the right speed and also I'll try with a different layer height (now I'm using 0.35 and 0.4, and it gets jammed).


No comments:
Post a Comment