Pages

Sunday 26 August 2012

SLOW FLYER - Parte 5 - Bisagras (charnelas)

SLOW FLYER - Part 5 - Hinges

Para no elevar el costo y el peso de nuestro slow flyer, y para simplificar el montaje, les muestro en las siguientes fotos cómo hacer unas bisagras (charnelas) caseras. Se trata de utilizar "cinta bebé" o cinta de costura o mercería (la que se usa para hacer moños), pegandola a la superficie fija y entrecruzandola con la móvil, según se ve en las fotos. De esta forma se garantiza un giro libre y además se mantiene la posición.
In order to keep the cost and the weight of the slow flyer low, and to simplify the assembly process, in the following pictures you will find a method to create your own hinges. The basis of the process is to create the hinges using a thin fabric, like the one found in haberdasheries also known as baby tape (at least in Spanish!). The pictures show how the tape must be crossed from one side to the other, to guarantee a free movement and to keep the position.


Obviamente no estoy inventando nada nuevo; los aeromodelistas llevan décadas usando este sistema con excelentes resultados. Eso si, hay que tener cuidado de que pegar correctamente el material, ya que de lo contrario podría despegarse en vuelo y las consecuencias podrían ser catastróficas...
Obviously I'm not inventing anything; aeromodellers have used this method for decades with excelent results. Of course, you should be careful and do a good bonding of the material; if not, the tape can de-attach during flight with catastrophic results...

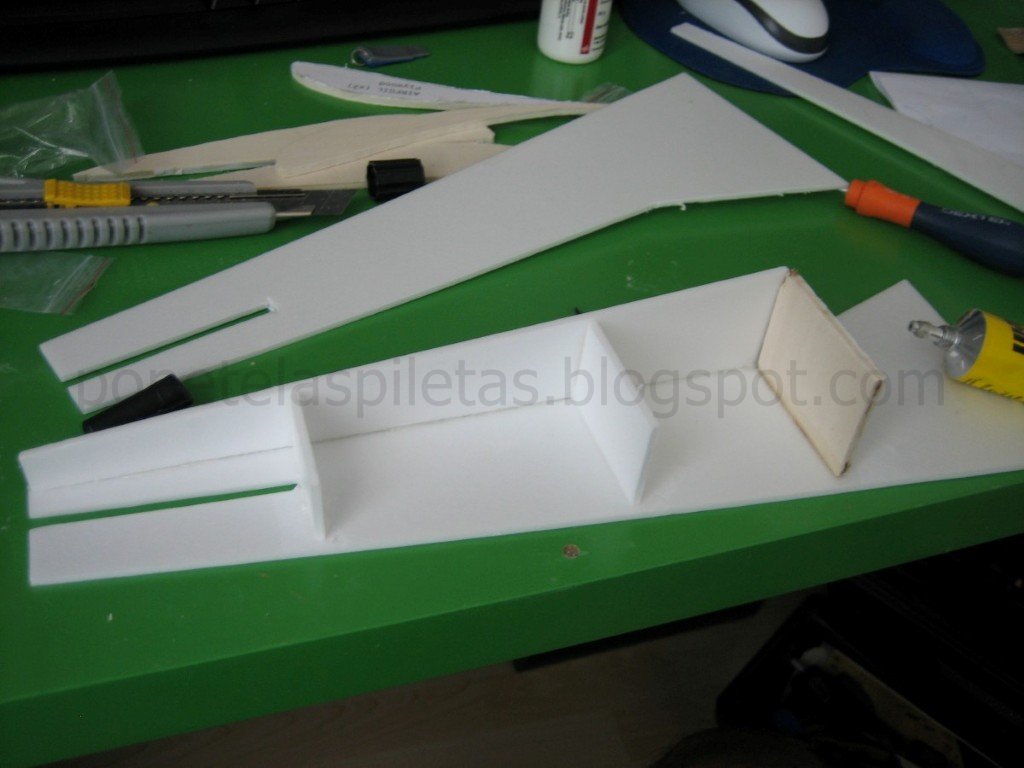
Finalmente, les dejo un par de fotos mas del avance constructivo. No he podido hacer mucho en estos días, pero algo avanza. Ahora mismo estoy a la espera de unos TIP35 para usar la fuente de PC como fuente para el cortador de foam. No la puedo usar tal cuál está porque tiene una protección contra cortocircuitos que hace que al conectar el cortador se corte la tensión. Así pues, voy a poner un par de TIP35 en paralelo a la salida de la fuente para "engañar" a la protección. Los detalles en otro post.
Finally I leave here some pictures more of the advance of the construction. I was not able to do so much in these days. Right now I'm waiting to receive some TIP35 transistors to use the PC Power Supply as a source for the foam cutter. I can't use the power supply as it is right now because it has a short-cirtuit protection, which I'm planning to fool with the TIP35. But this will come in another post.


Friday 10 August 2012

SLOW FLYER - Parte 4 - Diseño y construccion

SLOW FLYER - Part 4 - Design and construction

DISEÑO GEOMETRICO (3D CAD)
GEOMETRICAL DESIGN (3D CAD)

A continuación les dejo unas fotos del modelo 3D CAD y los planos 2D en escala 1:1 para que puedan fabricarlo si están interesados, aunque les aconsejo esperar a mis comentarios luego de las pruebas de vuelo. En estos momentos, el fuselaje está terminado y tengo que fabricar el ala.
Following I show you some pictures of the 3D CAD model and the 2D drawings in 1:1 scale for those who are interested in build your own. However, I suggest you wait until I post my comments after flight tests. At this very moment, the fuselage is finished and I need to build the wing.


No hay trucos o técnicas especiales que contar respecto de la construcción. El material de los paneles del fuselaje son de Selitron (3 mm) como así también algunas cuadernas y el empenaje vertical y horizontal (aunque en 2 planchas de 3mm). Los refuerzos de madera son de terciada o contrachapado (4,3 mm), aunque realizando algunas mejoras en el diseño se podría fabricar íntegramente en Selitron, ya que he notado que este material cuando se usa en estructura cerradas tipo cajón es bastante resistente y se pueden realizar estructuras bastante estables.
There are no tricks or special things to comment regarding building techniques. Skin fuselage material is Selitron (3 mm) as well as some frames and horizontal and vertical tail plane (2x3mm). Reiforcements (wooden skeleton) is done with plywood (4,3 mm), however, with some improvements on the design, I realized that the plywood might not be needed as the Selitron used in closed boxes structures is giving enough strength and stability.

La madera la corté con un tornito Dremel, aunque lo ideal es hacerlo con una sierra de calar y luego retocar con el Dremel. El Selitron se corta con un cutter. Para pegar el Selitron usé UHU Por (UHU para polyestireno), para pegar la madera usé cola de madera PATTEX Holz y para pegar el Selitron a la madera utilicé un pegamento chino que no se cómo se llama pero lo tengo de un viejo Cessna chino que destrocé en su 2do vuelo hace un par de años.
I cutted the wood with a Dremel tool, but the ideal thing is to do it with a keyhole saw and afterwards finish it with the Dremel. The Selitron can be cutted with a cutter. To glue the Selitron I used UHU Por (UHU for polystyrene); to glue the plywood I used normal PATTEX glue for wood and to glue the Selitron to the wood I used a chinese glue that I don't know the name, but I have it from an old chinese Cessna that I crashed in its 2nd flight a couple of years ago.