Les dejo algunas fotos de la evolución de la construcción de mi Prusa i3. En general casi todo se puede hacer siguiendo otras impresoras, pero sí que he tenido que hacer algunas modificaciones, ya sea para solucionar problemas que aparecían o a modo de mejoras.
I leave you here some pictures of the evolution of the construction of my Prusa i3. In general, almost everything can be done just following other construction blogs, but I do needed to implement some modifications, either to solve some problems that were appearing, or just as improvements.
Por ejemplo, el corte que tiene el marco principal en la zona central para que pase la correa del eje Y tuve que agrandarlo porque no solo tocaba la correa con la madera sino que tampoco pasaba el soporte que fija la correa a la mesa (2a y 3a foto).
For example, the cut in the main frame at the central location to allow the belt of the Y axis to go through was not big enough as both the belt and the belt fixation were clashing (2nd & 3rd picture).


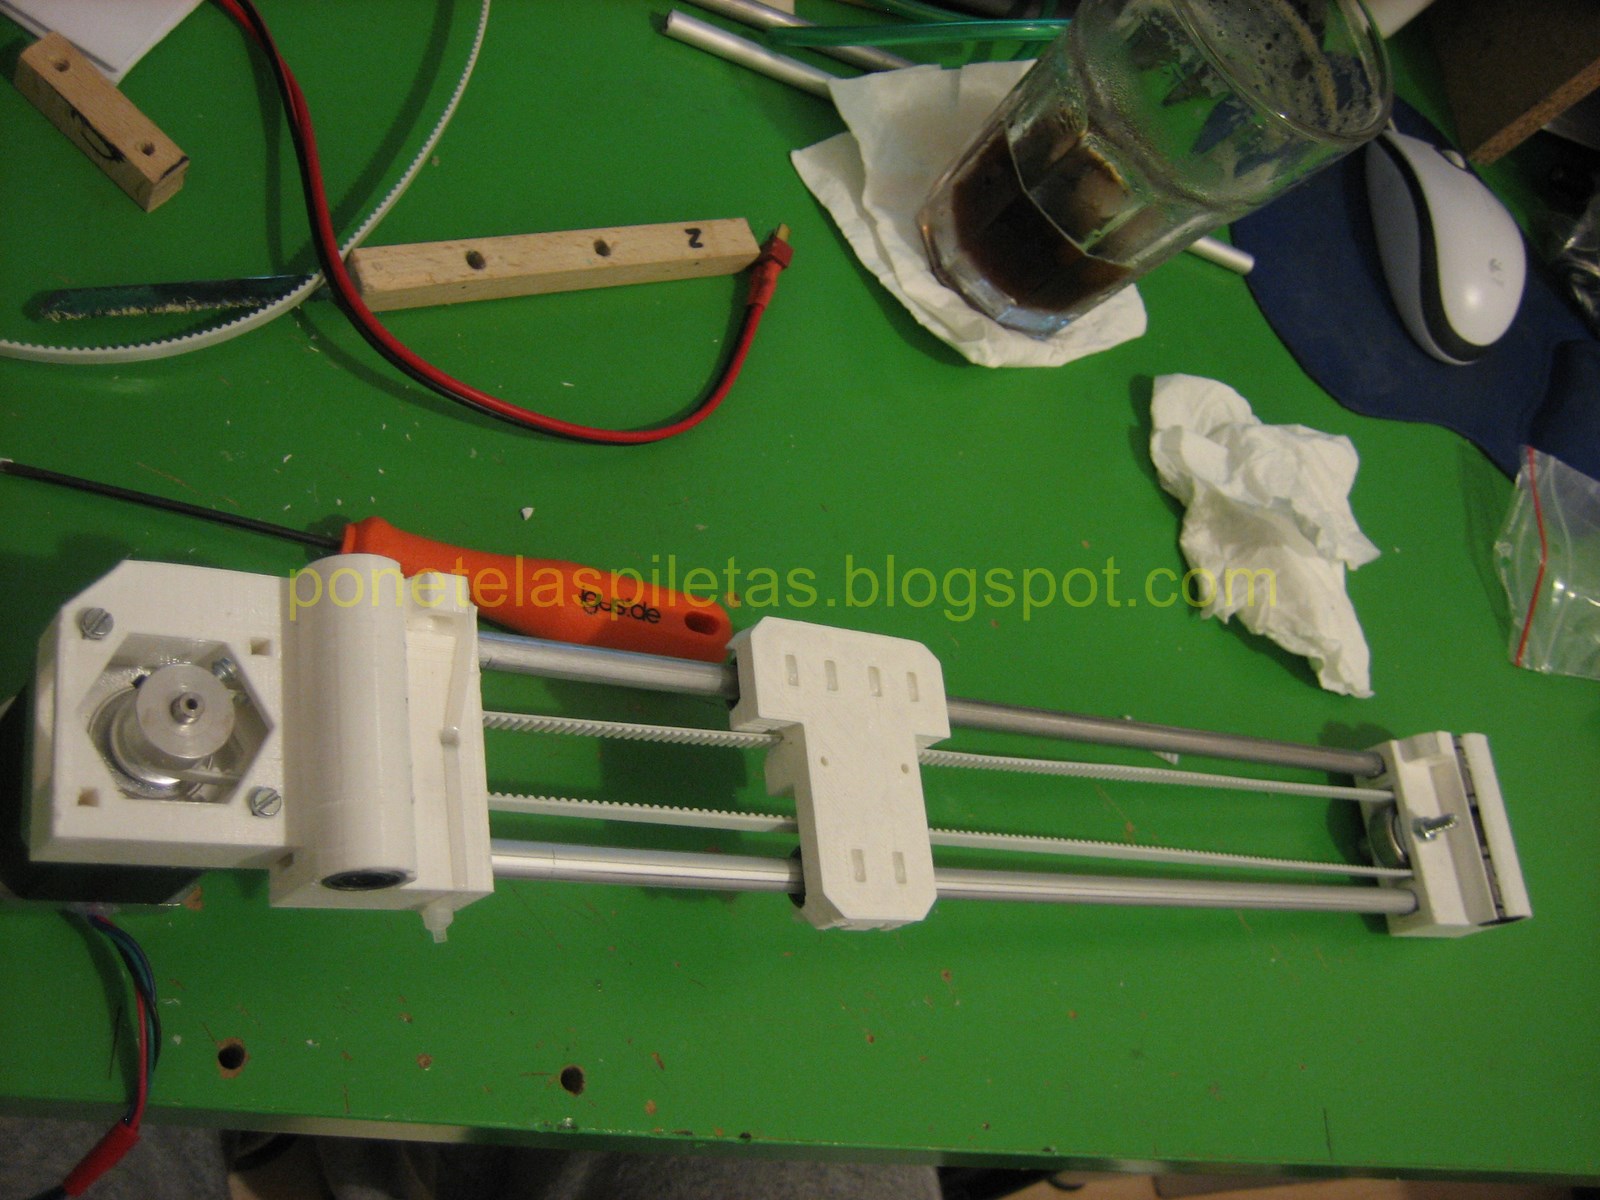
Luego los rodamientos lineales para la mesa principal, en vez de hacer un agujero en la mesa (que en mi caso era el cuadrado que saqué de la ventana del cuadro principal, debidamente reducido) lo que hice fue montarlos sobre un perfil C de aluminio que tenía de otro proyecto, al cuál le hice unas perforaciones para los tornillos y los precintos. Esto me permitió alinear perfectamente los dos rodamientos del mismo lado y para el alineamiento del rodamiento opuesto simplemente monté todo sobre las guías y luego marqué dónde tenía que fijar dicho rodamiento según la posición natural que adoptó sobre las guías.
For the linear bearings of the main table, instead of creating a pocket in the table (that in my case is the square that I removed from the central area of the main frame, properly resized), what I've done is to mount them into a C aluminium profile that I had from other proyect, doing some holes on it for the fixation screws and the cable ties. This allowed me to perfectly align the two of them that are on the same side, and for the alignement of the opposite one I've just mounted on the Y guides and let the guides to give the proper location (I've made some marks and then I've disassembled everything to get access to fix the support properly).


Para la fijación de las guías Y al marco principal, les recomiendo que utilicen unas arandelas de ala ancha, para tener mas apoyo sobre la madera. Además, yo agregué dos refuerzos laterales al marco para evitar que todo el marco quedara soportado solo por la unión de las tuercas y arandelas. Aunque actualmente no tengo ninguna masa suspendida importante en la parte alta del marco, si el día de mañana decido colgar algo de allí arriba tengo los soportes laterales para dar estabilidad).
For the fixation of the Y guides to the main frame I recommend to use big washers, so that you have a better distribution of the pressure on the frame. In addition I added two lateral reinforcements to the frame to avoid that, in case of having something on top of the frame, it can debilitate the fixation nut-washer and at the same time give more stability to the whole printer.

Al conjunto X-Z la única mejora que le hice fue agregarle una madera al carro X para no estar atornillando y desatornillando el extruder directamente al plástico. Así atornillo directamente sobre la madera y si necesito nuevos agujeros tan solo desplazo el extruder un poco hacia los laterales o hacia arriba/abajo y ya puedo volver a hacer agujeros (se puede ver en la 4a foto).
También en esa foto se puede ver una guía simple para ayudar al filamento entrar alineado al extruder y evitar así que se salga del extrusor.
To the X-Z assembly the only improvement that I did is to add a wooden support for the X cart to avoid screwing and un-screwing directly on the plastic. By adding the wood, I just fix the wood once and then I can fix the extruder to the wood as many times as needed, just moving the extruder a little bit if new holes are needed.
You can also other stuff, like a simple guide for the filament to help it to enter aligned into the extruder (4th picture, on top of the extruder).


And here is the whole printer, pretty ugly indeed, but working smoothly, even with the self-maded hotend. By the way, I'll come back to the hotend in another thread.

No comments:
Post a Comment